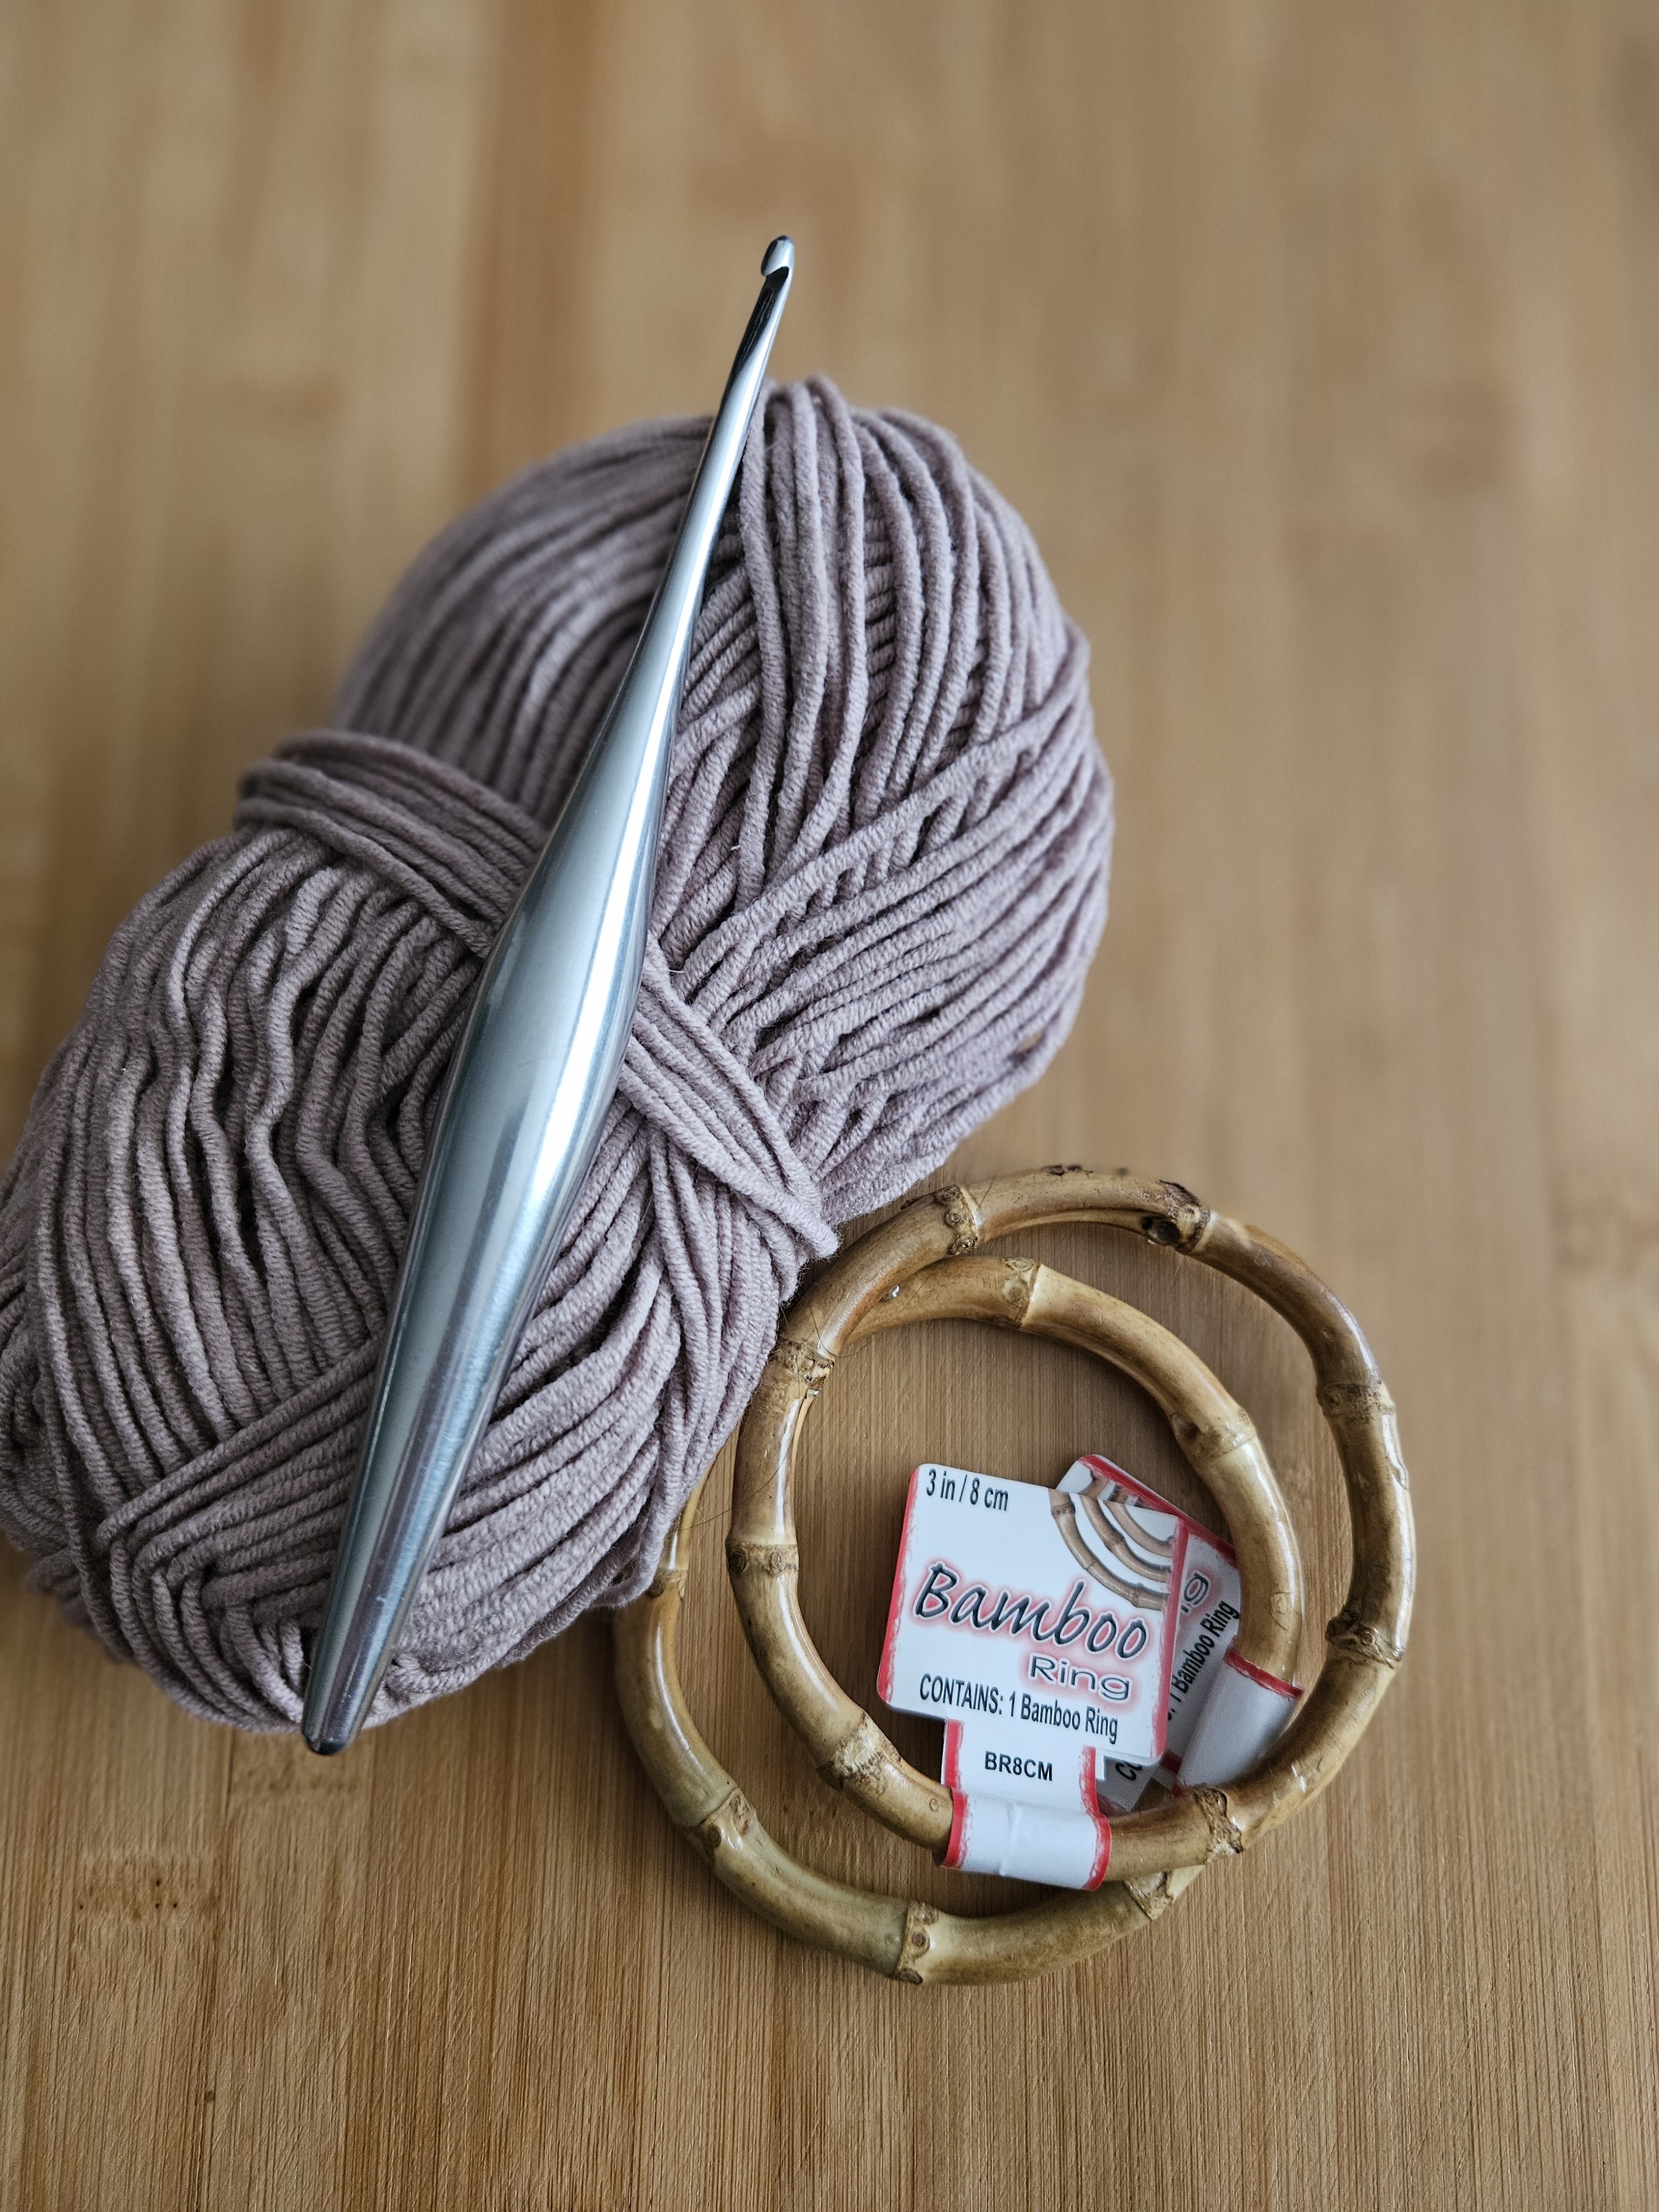
Sunday, March 17, 2024

YipYip Car Hanger Pattern

Supplies
6mm safety eyes
3.5mm crochet hook
Red heart super saver yarn

The Pattern 
Rnd1: 6sc in a magic ring (6)
Rnd2: inc 6 (12)
Rnd3: [sc, inc]6 times (18)
Rnd4: [2sc, inc]6 times (24)
Rnd5: sc x 24 (24)
Rnd6: Do this entire round in the back loops sc x 24 (24)
Round7-9: sc x 24 (24)
Rnd10: [sc x 4, dec] 4 times (20)
Rnd11-16: sc x 20 (20)
Row17-19: now you will be working in rows, turn, ch, sc x 11 (11)
Row20: turn, ch, dec x 4, sc, dec (6)
Row21: turn, ch, dec, sc, dec (3)
Row22: turn,ch,sc x 4 (4)
Rnd23: do not turn, sc x 30 around the entire piece. Now when you get back to the top of your YipYip pinch the top together the 4 sc from Row 22....and sc through them crocheting two together x 2. Do not fasten off now chain x 75, fasten off and sew the end of your chain onto your YipYip. 

Eyes (make2)
Rnd1: 6sc in a magic ring (6)
Rnd2: [sc, inc]3 times (9)
Rnd3-4: sc x 9 (9)
Rnd5: insert your safety eye, [sc, dec] 3 times (6)
Rnd6: dec x 3, fasten off (3)

Assembly
Cut yarn and loop into onto the front loops of Round 6 of your YipYip. Sew on the eyes, and enjoy!! 


Saturday, December 16, 2023

Kitchen Towel Holder


Supplies
4mm crochet hook
3inch bamboo rings
Lionbrand Made With Love Yarn

The Pattern
Row1: ch x 12 (12)
Row2: turn, hdc x 11 (11)
Row3-30: turn, ch x 2, hdc x 11 (11)
Rnd31: do not turn, sc around the entire piece,  fasten off. 

Flower
Row1: ch x 61 (61)
Row2: turn, in second ch from hook *(sc, hdc, dc,hdc, sc), skip stitch*, repeat from * all the way across 29 more times, fasten off.

Assembly 
Fold each short end of work over one of your bamboo rings and sew it on. Then roll your flower together, and sew it onto your towel holder. Now enjoy your new kitchen towel holder!! 

Friday, November 17, 2023

Plant Pattern

Supplies

2.5mm crochet hook

Yarnart Jeans yarn

Stuffing, sewing needle, black thread


Plant Pattern 

Rnd1: sc x 6 (6)

Rnd2: inc x 6 (12)

Rnd3: [sc, inc] 6 times (18)

Rnd4: [sc, inc] 9 times (27)

Rnd5: [sc x 2, inc] 9 times (36)

Rnd6: sc x 36 (36)

Rnd7: [sc x 5, inc] 6 times (42)

Rnd8: sc x 42 (42)

Rnd9: [sc x 5, dec] 6 times (36)

Rnd10-12: sc x 36 (36)

Rnd13: [sc x 4, dec] 6 times (30)

Rnd14: do this entire round in the front loops. Sc x 30 (30)

Rnd15: do not fasten off, you will be making the strap now, ch x 75. Now fold pot in half, so you can see exactly where you should sc to attach the other end of the strap. Sc in the st in the opposite side, or basically count 14 sc from the beginning of your strap sc in next st, fasten off . Now to create the second strap count 6 st over from your first strap, sc in next stitch, ch x 75, now sc in stitch on the opposite side of pot. 


*to create the plant with the straps starting from the bottom I inserted my hook in any post on the bottom of the plant pull up yarn and sc, ch 15, sc in any stitch on the brim of your pot, then proceed to ch x 75 and repeat the process of making your straps. 


DirtPatch

Rnd1: sc x 6 (6)

Rnd2: inc x 6 (12)

Rnd3: [sc, inc] 6 times (18)

Rnd4: [sc x 2, inc] 6 times (24)

Rnd5: [sc x 3, inc] 6 times, fasten off (30)


Vines (make 4)

Row1: ch x 4 (4)

Row2: turn, hdc, sc x 2 (3)

Row3: do not turn, work down opposite side of work, sc x 2, hdc (3)

Rnd4-14: ch x 6, turn, sc x 2, hdc, now work down opposite side of work, hdc, sc x 2, fasten off at end of Rnd14 (12)


Big Leaf (make 5)

Row1: ch x 13 (13)

Row2: turn, sc x 3, hdc x 3, dc x 3, tr x 2, tr x 3 in last stitch (14)

Row3: do not turn, work down wrong side of work, tr x 2, dc x 3, hdc x 3, sc x 3, fasten off (11)


Small Leaf (make 4)

Row1: ch x 6 (6)

Row2: turn, sc x 2, hdc, dc, 3trc in last stitch (7)

Row3: do not turn, work down opposite side of work dc, hdc, sc x 2, fasten off (4)


**please note, last minute I decided to add eyes to the one plant so there is no eye placement for this pattern. Sorry about that**


Assembly

Sew the dirt patch to the back of Rnd14 of the plant pot, before sewing closed stuff your plant firmly. Use dress making pins and in your vines/leaves in place and sew them on. Weave in ends and trim them. 


Please do not sell my patterns. I create patterns to share for others to enjoy. Thank you.

Tuesday, June 6, 2023

Berry Sweet Ice Cream Cone


Supplies

Bernat Handicrafter Cotton Yarn

E Hook


Cone

Rd1: Starting at the bottom of your cone sc x 6 in a magic ring (6)

Rd2: inc x 6 (12)

Rd3: [sc, inc] 6 times (18)

Rd4: [sc, inc] 9 times (27)

Rd5: do this entire round in the back loops sc x 2, [sc x 3, dec] 5 times (22)

Rd6-15: sc x 22 (22)

Rd16: sc x 2, [sc x 4, inc] 4 times (26)

Rd17-18: sc x 26 (26)

Rd19: do this round in the front loops, sc, [sc x 4, inc] 5 times (31)

Rd20-23: sc x 31, fo at the end of Round 23 (31)


Ice Cream Scoop (big scoop)

Rd1-3: same as cone.

Rd4: sc x 18 (18)

Rd5: [sc x 2, inc] 6 times (24)

Rd6: sc x 24 (24)

Rd7: [sc x 3, inc] 6 times (30)

Rd8-9: sc x 30 (30)

Rd10: you'll be placing the eyes in this round, sc x 14, place your first safety eye in the last stitch you just did, sc x 4, place your second safety eye, sc x 12 (30)

Rd11-14: sc x 30 (30)

Rd15: dec, sc x 6, dec, [sc x 8, dec] 2 times, fasten off (26)


Ear (make 2)

Rd1-2: same as ice cream scoop

Rd3-5: sc x 12, fasten off at end of Round 5 (12)


Ice Cream Scoop (small scoop)

Rd1-3: same as small scoop

Rd4-5: sc x 18 (18)

Rd6: you will be placing the safety eyes in this round sc x 9, place your first safety eye in the last stitch you just did, sc x 2, place your second eye, sc x 7 (18)

Rd7-19: sc x 18 (18)

Rd20: sc x 2, [sc x 2, dec] 4 times, fasten off (14)


Ears (for second scoop, make 2)

Rd1: Starting at the tip of your ear sc x 6 in a magic ring (6)

Rd2: inc, sc x 5 (7)

Rd3: sc x 7, fasten off (7)


Cherry

Rd1: Starting at the top of your cherry sc x 6 in a magic ring (6)

Rd2: [sc, inc] 3 times, fasten  off (9)


Icing 

Rd1: Starting in the middle of your icing sc x 6 in a magic ring (6)

Rd2: [sc, inc] 3 times, fasten off (9)


Bow 

Row1: ch x 6 (6)

Row2: turn, sc x 5 (5)

Row3-4: turn, ch, sc x 5 (5)

Rd5: sc around the entire piece, fasten off


Assembly

Stuff your cone, sew on your ice cream scoops to the cone. Sew the ears on. The icing, cherry and bow. Enjoy your beary sweet cone! :) 


Saturday, May 6, 2023

Kitty Pattern

Supplies 
3.5mm crochet hook
Bernat Handicrafter Cotton Yarn
8mm safety eyes 
Needle, black embroidery thread 

The Pattern 
Rnd1: starting at the bottom of your kitty sc x 6 in a magic ring, or ch x 2 and do 6sc in the second chain from your hook (6)
Rnd2: inc x 6 (12)
Rnd3: [sc, inc] 6 times (18)
Rnd4: [sc, inc] 9 times (27)
Rnd5: sc x 27 (27)
Rnd6: sc x 2, [sc x 4, inc] 5 times (32)
Rnd7-8: sc x 32 (32)
Rnd9: sc x 2, [sc x 4, dec] 5 times (27)
Rnd10: sc x 27 (27)
Rnd11: you will be placing your eyes in this round, sc x 12, place your first safety eye in the last stitch you just did, sc x 2, place your second eye, sc x 13 (27)
Rnd12: sc x 2, [sc x 3, dec] 5 times (22)
Rnd13-14: sc x 22 (22)
Rnd15: sc x 2, [sc x 3, dec] 4 times (18)
Rnd16: you will be starting the first ear, skip 11 stitches, sc x 7 (7)
Rnd17: sc x 7 (7)
Rnd18: [sc, dec] 2 times (5)
Rnd19: dec x 2 closed,  fasten off (2)

 Second Ear
Rnd1: with the back of your cat facing you, in the third stitch over from your furst ear sc in that stitch, sc x 6 (7)
Rnd2: sc x 7 (7)
Rnd3: [sc, dec] 2 times (5)
Rnd4: dec x 2 closed,  fasten off (2)

Tail
Rnd1: starting at the tip of your cats tail sc x 6 in a magic ring, or ch x 2 and do 6sc in the second chain from your hook (6)
Rnd2: sc x 6 (6)
Rnd3: dec, sc x 4 (5)
Rnd4-9: sc x 5, fasten off at the end of rnd9 (5)

Assembly 
Stuff your cat firmly.  Sew the top of its head closed between the ears. Sew in the tail.  Now Sew on wiskers and a mouth! 


Friday, May 5, 2023

Daechwita Cats Pattern


Supplies

2.5mm crochet hook

Fine cotton yarn

Black embroidery thread 

Keychain accessories

Scissors,  needle


The Pattern 

Rnd1: Starting at the top of your cat head sc x 6 in a magic ring, or ch x 2 and do 6sc in the second chain from your hook (6)

Rnd2: inc x 6 (12)

Rnd3: [sc, inc] 6 times (18)

Rnd4: [sc, inc] 9 times (27)

Rnd5: sc x 27 (27)

Rnd6: sc x 2, [sc x 4, inc] 5 times (32)

Rnd7: sc x 32 (32)

Rnd8: sc x 2, (sc x 4, inc) 6 times (38)

Rnd9-10: sc x 38 (38)

Rnd11: sc x 3, (sc x 3, dec) 7 times (31)

Rnd12-13: sc x 31 (31)

Rnd14: sc, dec x 15 (16)

Rnd15-16: sc x 16 (16)

Rnd17: dec x 8 (8)

Rnd18: dec x 4 (4)

Rnd19: dec x 2 closed, fasten off (2)


Ear  (make 2)

Rnd1: starting at the tip of your ear do 5sc in a magic ring, or ch x 2 and do 5sc in the second chain from your stitch (5)

Rnd2: sc x 5 (5)

Rnd3: inc, sc x 4 (6)

Rnd4: [inc, sc x 2] 2 times (8)

Rnd5: [inc, sc x 3] 2 times, fasten  off (10)


Assembly

Sew the ears on your cat head. Sew on the nose and eyes. Add blush. Attach beads and a kechain ring. 

Tuesday, January 24, 2023

 JELLYFISH PATTERN 


Crochet Abbreviations 

Ch-chain

Sc-single crochet

Inc-increase 

Dec-decrease

Invdec-invisible decrease

Fo-fasten off


Supplies

Acrylic Yarn

E hook

Stuffing

10mm safety eyes

Black thread

Scissors, needle, stuffing 


The Pattern

Rnd1: starting at the top of your jellyfish's head. Sc x 6 in a magic ring, or ch x 2 and do 6sc in second ch from your hook (6)

Rnd2: inc x 6 (12)

Rnd3: [sc, inc] x 6 (18)

Rnd4: [sc, inc] x 9 (27)

Rnd5-9: sc x 27 (27)

Rnd10: you will be placing your safety eyes in this round. Sc x 10, place your first eye in the last stitch you just did, sc x 4, place your second eye in the last stitch, sc x 13 (27)

Rnd11-14: sc x 27 (27)

Rnd15: do this entire round in the front loops. Creating the trim. [Sc, ch x 3, sc all in same stitch, skip next stitch] x 13, sc, (66)

Rnd16: do this entire round in the back loops of the previous round. Invdec x 13, sc (14)

Rnd17: start stuffing your jellyfish. Dec x 7 (7)

Rnd18: dec closed x 3, sc, fo (4)


Tentacles 

Row1: insert your hook on the bottom of your jellyfish where you'd like a tentacle to be. Yarn over, create a ch, ch x 20 (30), turn, sc back down the chain, fo. 


Assembly

Create as many tentacles as you'd like. Weave in ends. Sew on eyebrows and a mouth. Enjoy your new jellyfish! Happy crocheting!